Replacing the head gasket, step by step. Part II: The Valve Cover.
The next step in replacing the head gasket or replacing the head: removing the valve cover.
We'll need to remove a few things first.
Starting with the distributor and the spark plug wires.
The spark plug wires are up first. We've learned from our earlier experiences with S's Porsche 924, and label the connections and cables well before we get started.
An overview picture.
A convenient distributor which is already numbered.
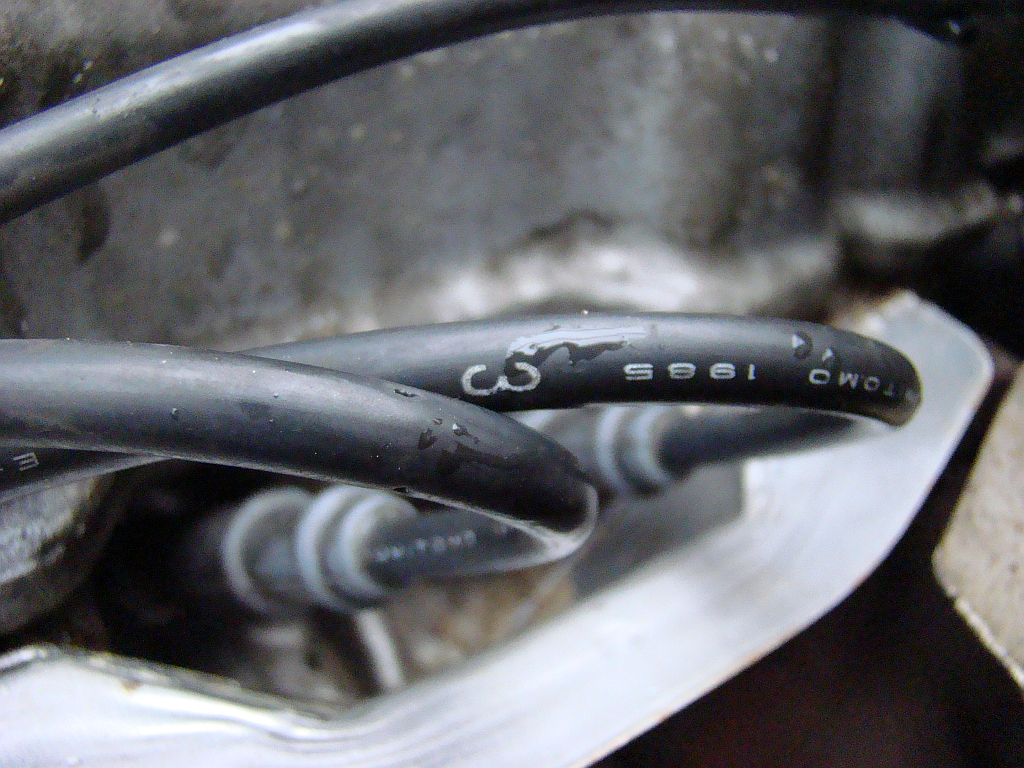
Even the spark plug wires have numbers.
Just to be sure, we number the spark plugs anyway. Little extra work, and saves a lot of time when reconnecting.
...and the spark plug wires can be disconnected.
The cable from the contact points to the ignition coil. Everything was thought through on this Toyota. The cables are fitted with a watertight plug and socket and are easy to disconnect.
Here's a (green) plug-socket.
 Plug out of the ignition coil (right side).
Take out the dipstick.
The vacuum hoses have been labeled and are taken off the distributor.
The distributor housing can be rotated slightly to delay or speed up the ignition timing. This has been marked here.
Bolt number 1 on the distributor is loosened.
After the bolts have been loosened, the whole distributor can be pulled out.
Plug out of the ignition coil (right side).
Take out the dipstick.
The vacuum hoses have been labeled and are taken off the distributor.
The distributor housing can be rotated slightly to delay or speed up the ignition timing. This has been marked here.
Bolt number 1 on the distributor is loosened.
After the bolts have been loosened, the whole distributor can be pulled out.
This is what the distributor's drive shaft looks like.
To prevent dirt collection, a clean cloth is placed in the opening.
The hose for the oil supply at the valve cover is loosened and removed.
The gas throttle cable is removed from the support on the valve cover.
The four bolts on the valve cover are loosened and removed.
The rubber rings seem to be stuck quite nicely. We were able to remove them by pulling upwards while twisting.
And... the valve cover can be lifted off!
This is what the top looks like. Click the picture to view it in full screen.
---more next time---


No comments:
Post a Comment